What’s in My Camera Bag for a Sydney Photography Trip? (The Minimal Setup)
When you look up travel or landscape photography guides online, you usually see a laundry list of expensive gear: three different heavy zoom lenses, a massive carbon-fiber tripod, multiple filters, and a bag that weighs 12 kilograms.
But if you are walking across the Sydney Harbour Bridge or trekking the steep stairs of the Bondi to Coogee coastal walk, the last thing you want is a heavy backpack destroying your day.
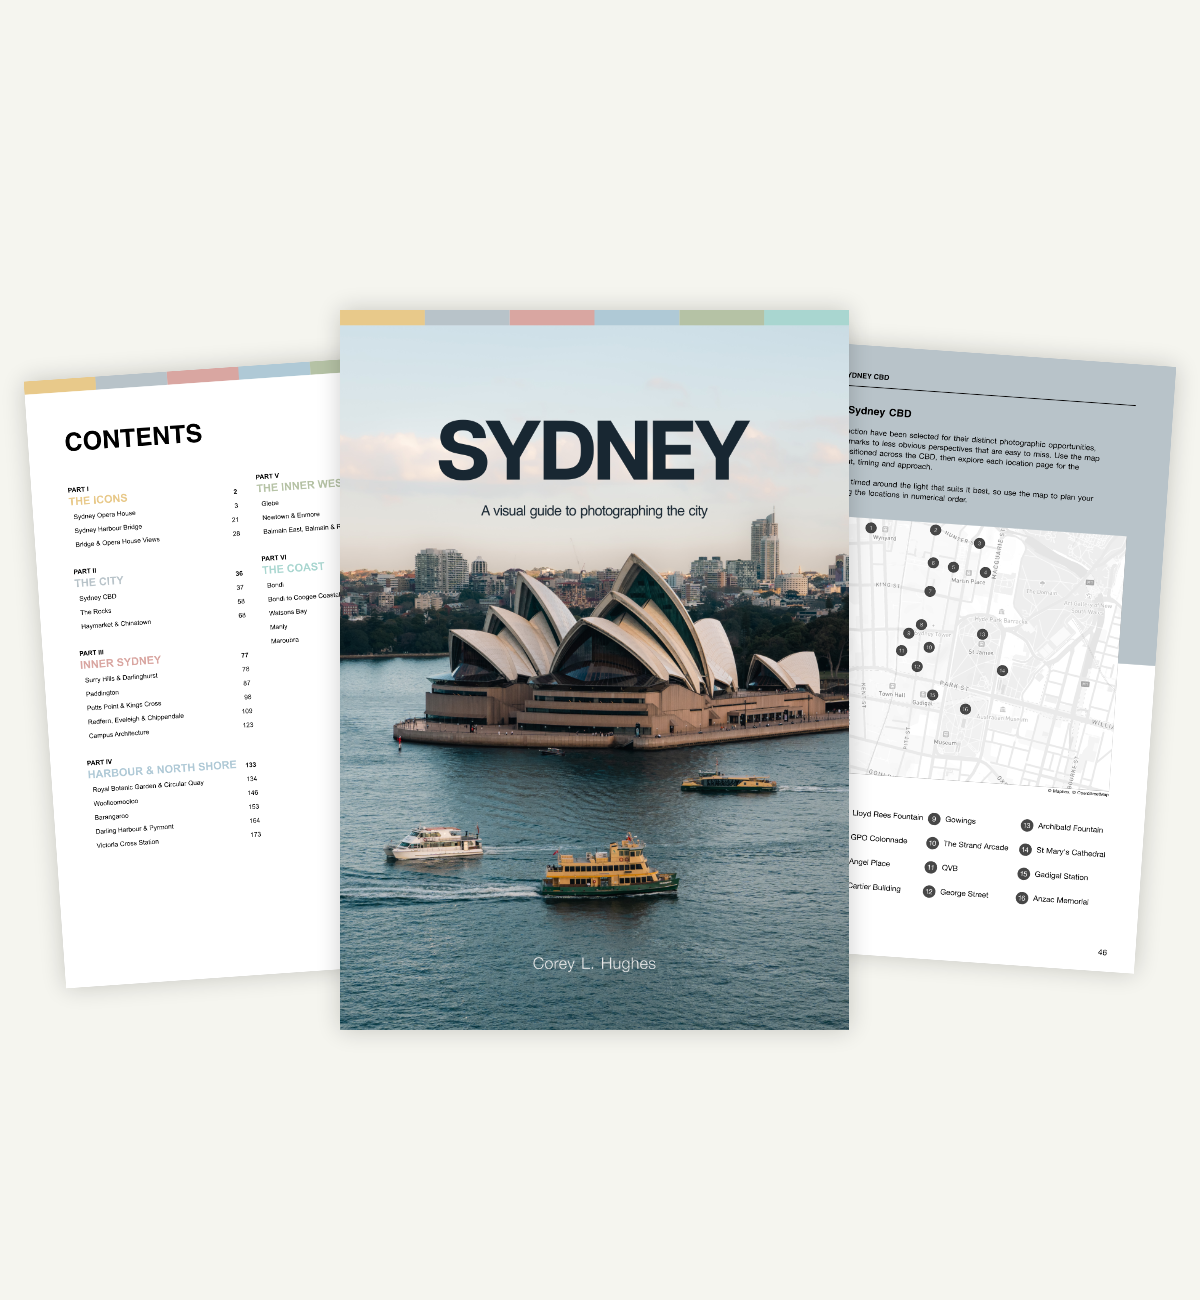
When I shot The Sydney Photography Guide, covering over 180 locations across the city, I did it using a highly deliberate, lightweight setup: just two lenses.
Here is exactly what is in my camera bag, why this minimal setup is all you need to capture Sydney beautifully, and how to maximize it.
Note on Crop Sensors & Full-Frame Equivalents
I shot this entire guide using a Sony A6700 (an APS-C crop-sensor camera body).
Because crop sensors multiply your focal length by 1.5x, my minimal two-lens kit behaves exactly like the standard focal lengths used by professional full-frame shooters: My 18-50mm zoom gives the exact field of view of a classic professional 27-75mm workhorse lens. My 30mm prime acts exactly like a classic storytelling 45mm lens.
To make this guide universally useful for every single camera brand, every location page inside The Sydney Photography Guide lists focal lengths as full-frame equivalents. If a page recommends a 50mm setup, you know exactly how to adjust your gear to get the perfect frame!
The Workhorse: Sigma 18-50mm f/2.8 DC DN
The vast majority of the 180+ locations in the guide were captured using a standard zoom lens. My primary lens is the Sigma 18-50mm f/2.8. It is incredibly sharp, but more importantly, it weighs almost nothing. Walking through the steep streets of Paddington or along the coastal trails, a heavy lens ruins the experience.
Why it works for Sydney: At the wide end (18mm), you have enough field of view to capture the sweeping span of the Harbour Bridge from North Sydney Olympic Pool or the wide cliffs of Maroubra. At the tighter end (50mm), you can compress elements nicely, like stacking a passing ferry against the sails of the Opera House from Circular Quay.
The Travel Advantage: This lens stays on my camera 90% of the day. It’s light, versatile, and covers everything from wide coastal landscapes to urban street photography cuts in The Rocks.

📷 Shot on the Sony A6700 with the Sigma 18-50mm f/2.8 lens.
The Creative Tool: 30mm Prime Lens
A prime lens doesn't zoom, but it opens up creative options that a standard zoom lens simply cannot match.
Why it works for Sydney: A 30mm focal length mimics the natural human field of view, making it the ultimate storytelling lens. I use this heavily when walking through inner-city suburbs like Surry Hills, Paddington, or Newtown.
The Low-Light Savior: Because prime lenses have a much wider aperture (usually f/1.4 or f/1.8), they let in a massive amount of light. This is my go-to lens for shooting twilight street scenes in Chinatown or capturing clean details when the sun drops below the skyline during blue hour.
The Secret Weapon: A Fixed ND Filter
Sydney is a notoriously sunny, high-contrast city. Even during the late afternoon, the sunlight bouncing off the harbor can be blindingly bright. To handle this, I always keep a Fixed 3-Stop or 6-Stop ND (Neutral Density) Filter in my kit.
An ND filter acts like sunglasses for your lens, allowing you to artificially block out light. This is how I slow down my shutter speed in broad daylight to smoothly blur the water patterns around passing ferries or create long-exposure motion trails of crowds walking past Circular Quay.
The Pack: A Low-Profile Camera Bag
I carry this entire setup inside an everyday camera backpack - the WANDRD Rogue 6L Sling 2. Instead of a bulky, obvious gear pack, I choose a minimal, lightweight bag that doesn't scream "expensive camera equipment" while I'm exploring the CBD. It features quick side-access panels so I can swap between my Sigma zoom and my prime lens cleanly without ever needing to put the bag down on wet sand or busy pavements.
The Secret: It’s Location Intelligence, Not Expensive Gear
The biggest takeaway from shooting this entire guide with just two lenses is simple: you do not need a bag full of glass to take photographs you are genuinely proud of.
You don't need a 400mm telephoto lens if you know the exact hidden ledge or elevated walkway that gets you physically closer to the composition. You don't need expensive gradient filters if you arrive at the exact minute the sun balances perfectly with the city lights.
The gear doesn't make the shot. Being in the right place, at the right time, with the right approach does.
Skip the Scouting. Go Straight to Shooting.
Instead of spending hundreds of hours figuring out where these focal lengths work best, we've done the field-testing for you.
Inside The Sydney Photography Guide, every single one of our 180+ locations highlights the exact recommended lens setup (provided as full-frame equivalents) so you know precisely what to mount before you arrive.